
The Ripstik has gained immense popularity as a unique and thrilling mode of transportation, captivating riders of all ages.
In this article, we will delve into the significance of learning how to ollie on a Ripstik, as it serves as the foundation for advanced maneuvers and tricks that can elevate your riding experience to new heights.
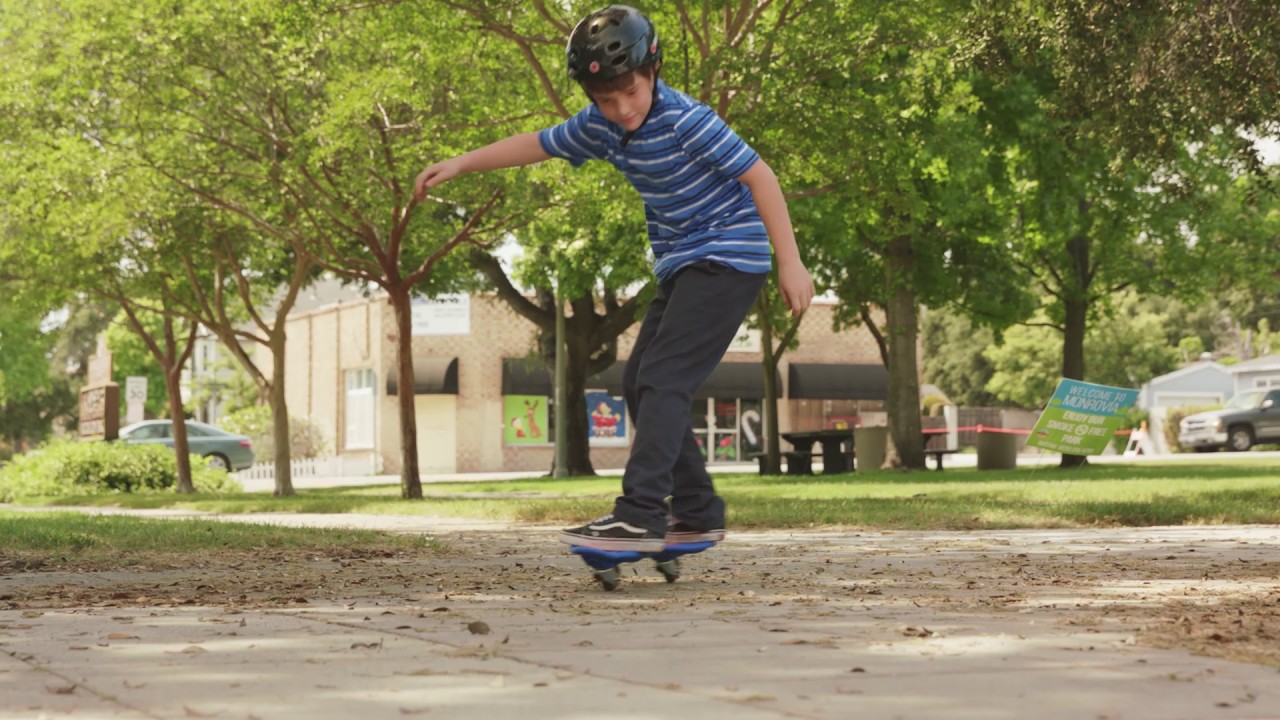
how to ollie on a ripstik
Understanding the Ollie Before we dive into the specifics of ollieing on a Ripstik, it is essential to grasp the concept of an ollie in skateboarding and how it translates to this unique ride.
An ollie involves lifting the board off the ground, allowing riders to overcome obstacles and perform various tricks. Balancing, timing, and weight distribution are critical components of executing a successful ollie, contributing to control and versatility on the Ripstik.
Preparing Your Ripstik To ensure a safe and smooth ollie experience, it is vital to assess the condition of your Ripstik. Check for proper wheel alignment, making any necessary adjustments to ensure optimal performance.
Additionally, adjust the foot pads to suit your comfort and secure them firmly for enhanced control. Considering safety, it is highly recommended to wear protective gear such as a helmet, knee pads, and elbow pads while practicing and performing tricks.
Body Position and Stance Achieving the ideal body position is crucial for executing a successful ollie on a Ripstik. Place your feet in the appropriate position, with the front foot angled slightly and the back foot resting on the tail.
Maintaining a stable and balanced stance throughout the ollie motion is paramount. Keep your knees slightly bent and your back straight, allowing for better control and stability.
Executing the Ollie Let’s break down the ollie process on a Ripstik step-by-step.
Begin with a rolling start at a moderate speed, ensuring you have enough momentum to execute the ollie effectively. Crouch down, preparing for the jump by bending your knees and gathering energy.
To initiate the ollie, pop the tail of the Ripstik by applying pressure with your back foot in a quick and forceful motion.
Simultaneously, slide your front foot forward, leveling the board in the air to maintain stability. As you extend your legs, prepare yourself for a smooth landing, ensuring your weight is evenly distributed.
It is essential to be mindful of common mistakes and learn how to avoid them. Failing to pop the tail properly or neglecting to level the board can impact the height and stability of your ollie. Practice and attention to detail will help refine your technique.
Practice and Progression Mastering the ollie on a Ripstik requires practice and repetition. Devote time to honing your balance, timing, and ollie height through targeted exercises and drills.
Begin with small ollies and gradually increase difficulty as your confidence and skills improve.
By developing a solid foundation, you can progress to more complex tricks and maneuvers with time and dedication.
Advanced Tips and Tricks Once you have mastered the basic ollie, a world of advanced techniques awaits. Explore tricks such as kickflips or grabs to enhance your repertoire.
Remember, creativity and individual style are key in developing unique tricks on a Ripstik. Experiment, push your limits, and embrace your own personal flair.
Safety Considerations While the thrill of riding a Ripstik can be exhilarating, safety should always be a priority.
Always wear appropriate safety gear, including a helmet, knee pads, and elbow pads, to protect yourself from potential injuries.
Ride in safe environments such as skate parks or designated areas, and respect traffic rules.
FAQs
Q: What is an Ollie on a Ripstik?
A: An Ollie on a Ripstik is a skateboarding trick where the rider pops the board’s tail off the ground, levels it out, and then lands back on the board.
Q: How do I perform an Ollie on a Ripstik?
A: Here is a step-by-step guide to performing an Ollie on a Ripstik:
- Begin by placing your front foot near the front of the board, with your toes angled slightly diagonally.
- Position your back foot on the tail of the Ripstik, with the toes hanging slightly off the edge.
- Bend your knees and crouch down, preparing to generate upward momentum.
- As you start to straighten your legs, simultaneously pop the tail of the Ripstik off the ground using your back foot.
- Slide your front foot forward to level out the board in mid-air.
- Keep your body centered over the board and maintain balance.
- As you start descending, prepare to land by bending your knees and absorbing the impact.
- Aim to land with both feet positioned over the grip tape, ensuring a stable landing.
Q: What are some tips for learning to Ollie on a Ripstik?
A: Here are a few tips to help you learn how to Ollie on a Ripstik:
- Practice on a smooth and flat surface to ensure stability and minimize potential obstacles.
- Start by mastering the basic riding techniques and gaining confidence on the Ripstik before attempting the Ollie.
- Focus on timing and coordination between popping the tail and sliding your front foot to level out the board.
- Keep your body weight centered and balanced throughout the trick to maintain control.
- Begin with small, controlled Ollies and gradually increase your height and distance as you become more comfortable.
- Film yourself practicing to analyze and improve your technique.
- Be patient and persistent. Learning to Ollie on a Ripstik takes time and practice.
Q: Are there any safety precautions I should take while attempting Ollies on a Ripstik?
A: Yes, it is essential to prioritize safety while attempting Ollies on a Ripstik. Here are some precautions to consider:
- Wear appropriate safety gear, including a helmet, knee pads, elbow pads, and wrist guards.
- Find a suitable practice area free of traffic, pedestrians, and potential hazards.
- Start with low ollies and gradually progress to higher ones as you gain skill and confidence.
- Make sure your Ripstik is in good condition, with no loose or damaged parts that could cause accidents.
- Be aware of your surroundings and be mindful of others who may be sharing the space with you.
- Practice falling techniques to minimize the risk of injury if you lose balance or experience a fall.
Q: Are Ollies on a Ripstik difficult to learn?
A: Learning to Ollie on a Ripstik requires practice, coordination, and balance. While it may be challenging initially, with perseverance and consistent practice, most riders can master the Ollie technique. Remember to start with small, controlled Ollies and gradually progress to higher ones as you build confidence and skill.
Q: How can I improve my Ollie technique on a Ripstik?
A: Here are some tips to help you improve your Ollie technique on a Ripstik:
- Practice regularly: Consistent practice is key to improving any skateboarding trick, including the Ollie. Set aside dedicated time to practice your Ollies on a regular basis.
- Focus on timing and coordination: Pay attention to the timing and coordination between popping the tail and sliding your front foot. Practice the motion slowly at first to develop muscle memory and gradually increase your speed and fluidity.
- Work on your pop: Experiment with different amounts of pressure and force applied to the tail of the Ripstik when popping. Practice finding the right balance to achieve a good pop that propels the board into the air.
- Perfect your slide: The front foot slide is crucial for leveling out the board in mid-air. Practice sliding your front foot smoothly and evenly towards the nose of the Ripstik to achieve a balanced and controlled Ollie.
- Focus on body positioning: Keep your body weight centered over the board throughout the Ollie. Maintain a crouched position with your knees bent and your back straight. This will help you maintain balance and control during the trick.
- Film and analyze your technique: Use a camera or your smartphone to film yourself while practicing Ollies. Review the footage to identify any areas that need improvement and make adjustments accordingly.
- Seek feedback and guidance: If possible, skate with more experienced riders or seek feedback from skateboarding communities online. They can provide valuable insights, tips, and corrections to help you refine your Ollie technique.
- Be patient and persistent: Learning and mastering the Ollie takes time and perseverance. Don’t get discouraged if progress seems slow at first. Stay positive, keep practicing, and celebrate small improvements along the way.
Q: Are there any advanced variations of the Ollie on a Ripstik?
A: Yes, once you have mastered the basic Ollie on a Ripstik, you can explore more advanced variations and combinations of the trick. Some examples include:
- Kickflip: Add a kickflip to your Ollie by flicking the edge of the board with your front foot as you slide it forward. This causes the board to flip while performing an Ollie.
- Shuvit: Perform a shuvit by popping the tail of the Ripstik while simultaneously using your front foot to spin the board 180 degrees in the air. Land with the board facing the opposite direction.
- Ollie 180: Combine an Ollie with a 180-degree spin in mid-air. After popping the tail and leveling out the board, use your shoulders and hips to rotate your body and complete the 180-degree turn.
- Ollie over obstacles: Once you feel comfortable with Ollies, challenge yourself by attempting to Ollie over small obstacles like curbs, cones, or ramps. Start with smaller obstacles and gradually increase the difficulty.
Remember, advanced variations require additional practice and mastery of the basic Ollie technique. Always prioritize safety and progress at your own pace.
Conclusion
Mastering the ollie on a Ripstik opens up a world of possibilities for advanced tricks and maneuvers, taking your riding experience to new heights.
By understanding the mechanics of the ollie, preparing your Ripstik, practicing diligently, and maintaining safety precautions, you can enhance your skills and explore the thrilling realm of Ripstik tricks.
Remember, learning any new skill takes time and patience. Be persistent, embrace the learning process, and enjoy the journey as you progress from basic ollies to more advanced tricks.
So grab your Ripstik, gear up, and embark on an exciting adventure filled with ollies, flips, and spins. Ride safe, have fun, and let your creativity shine on the Ripstik!